




Authentic Motogadget mo.switch mini 3-Button Silver (Part #4000346) | CNC Aluminum Handlebar Switch
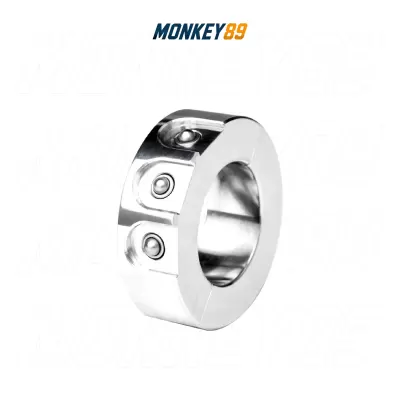
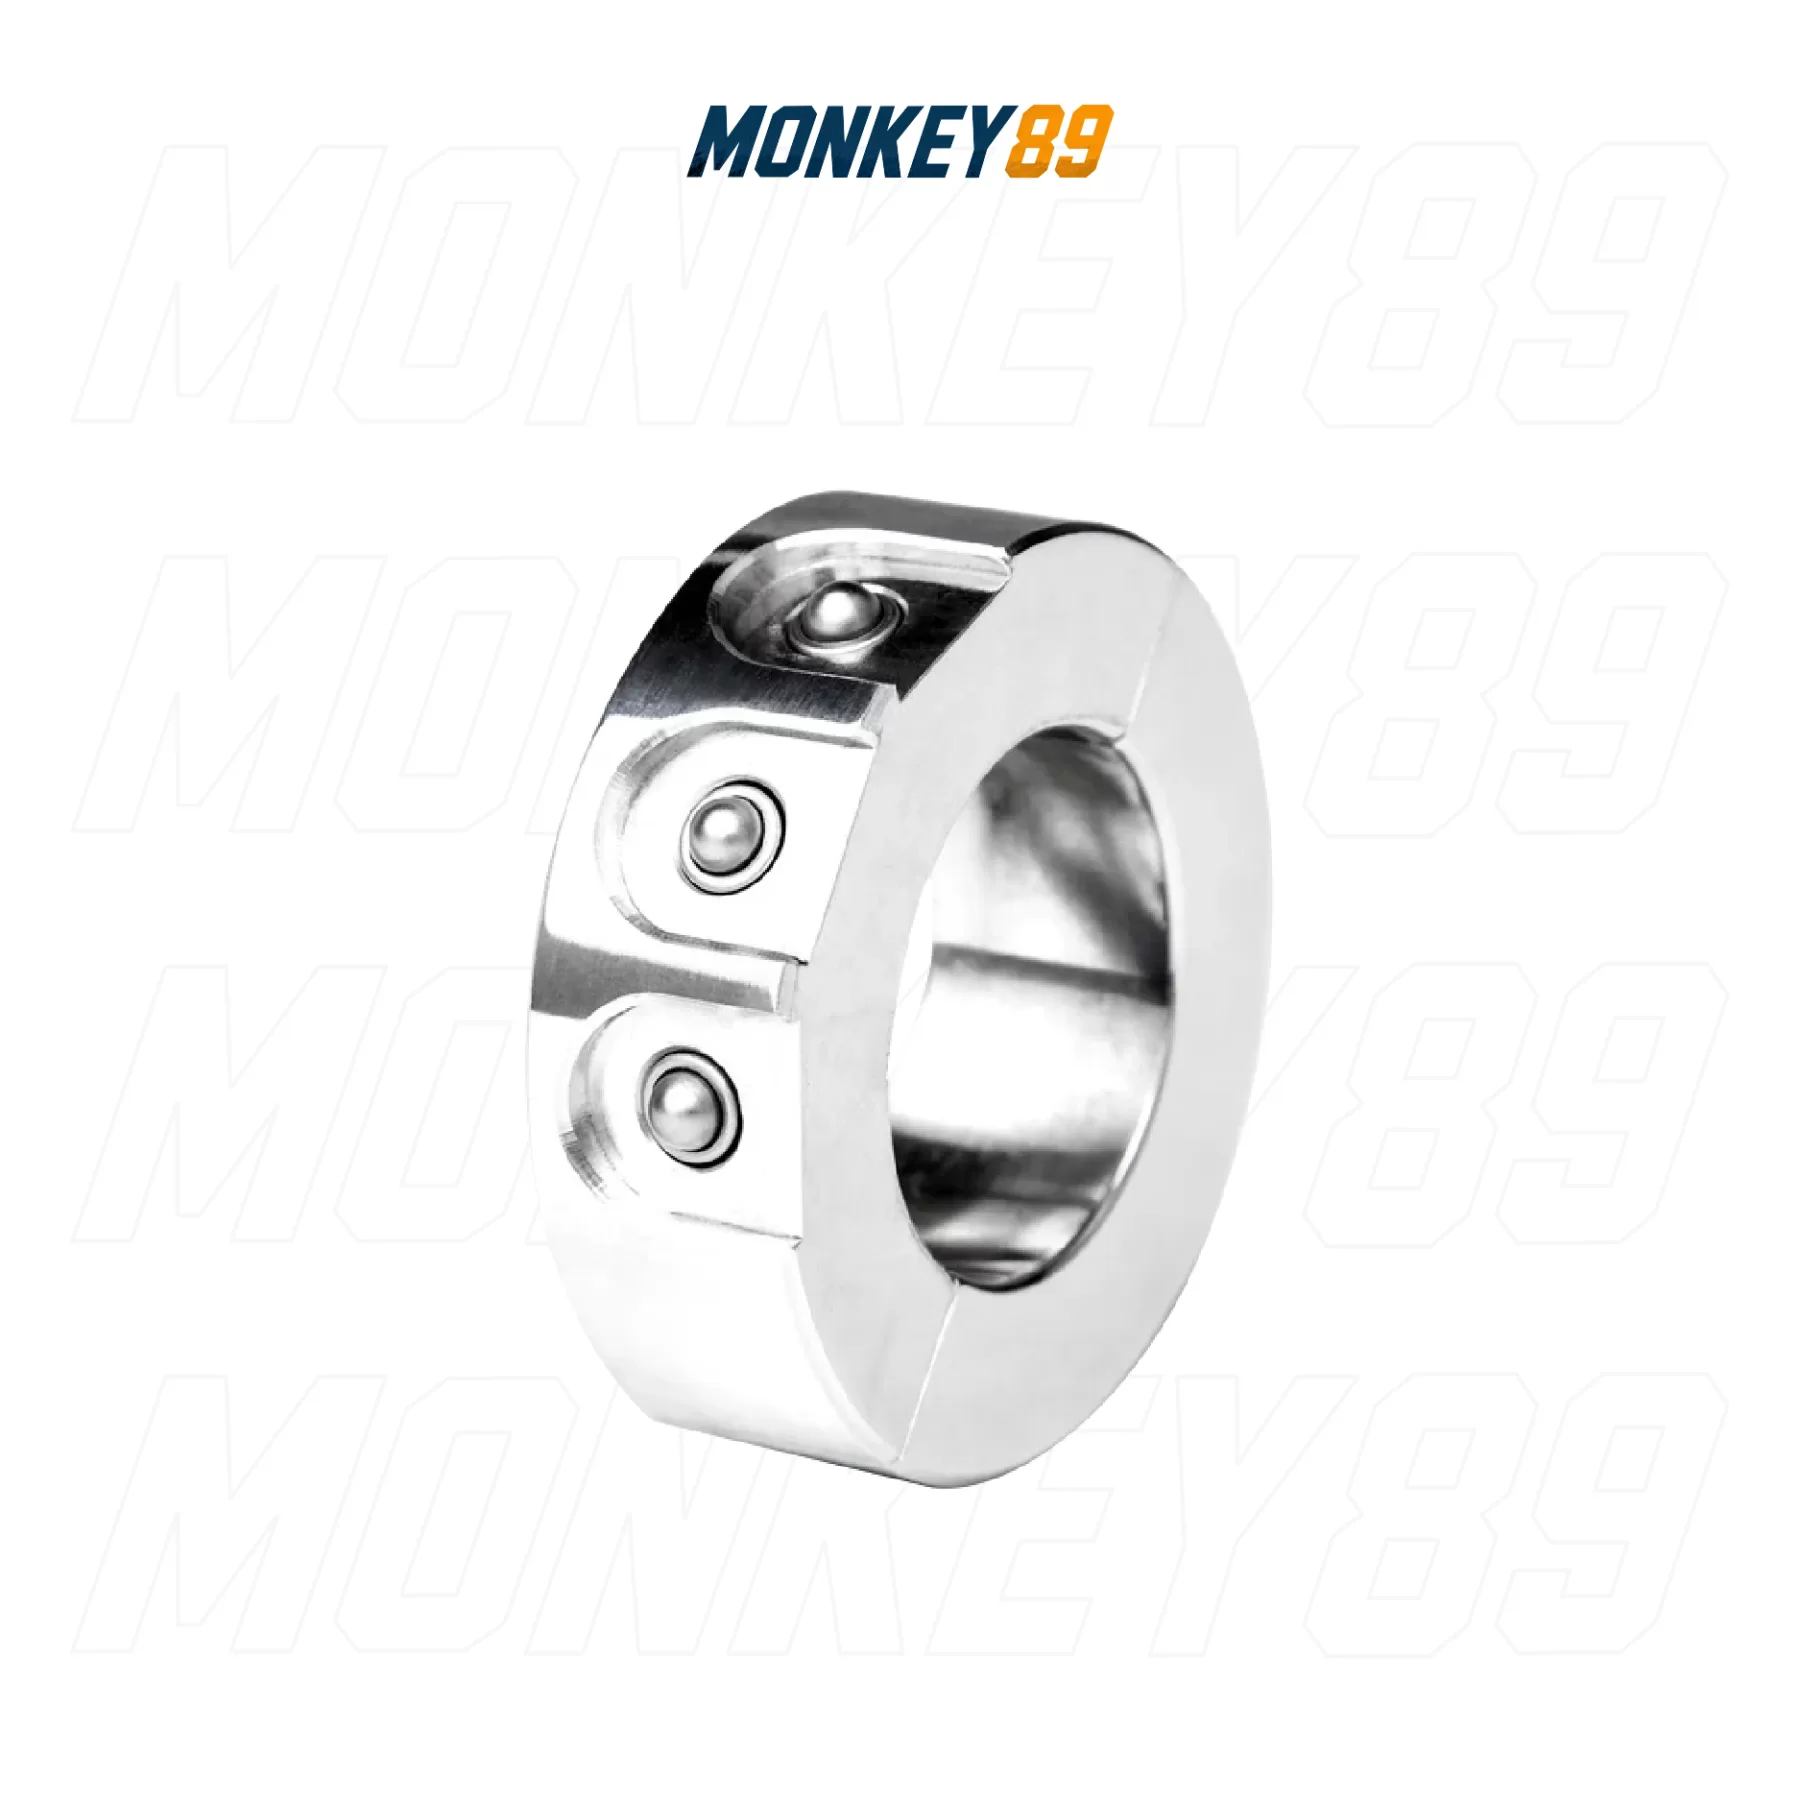
Are you seeking maximum refinement for your custom build, Boss? The Motogadget mo.switch mini 3-button (Part #4000346) is the ultimate miniature masterpiece. With an incredibly slim width of just 14 mm, this compact switch assembly delivers an extraordinarily clean look for handlebars with a 1-inch or 22.2 mm (7/8") tube diameter. Milled from solid billet aluminum, the housing features an intricately crafted contrast-cut design—anodized first and then precisely milled along the edges to reveal bright silver aluminum accents. Three miniature push buttons with defined actuation points are recessed into indentations, providing the thumb with necessary orientation and ensuring a highly robust, confident shifting feel.
TECHNICAL SPECIFICATIONS | Motogadget mo.switch mini 3-Button
| ATTRIBUTE | DETAILED SPECIFICATIONS |
|---|---|
| Brand |
Motogadget (Designed and manufactured in Germany) |
| Part Number (SKU) | 4000346 (3-button, silver contrast-cut configuration) |
| Dimensions | Ultra-slim Width 14 mm / Outer housing diameter 45 mm |
| Handlebar Fitment | Compatible with 22.2 mm (7/8") or 25.4 mm (1") tubes |
| Material Construction | CNC billet aluminum, high-quality contrast-cut finish |
| Protection Rating | Push buttons are splash-proof and built to be very robust |
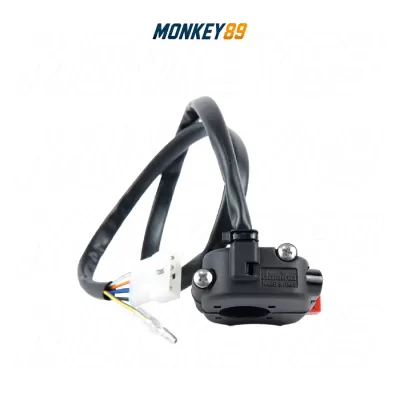
| Connection Cable | Wires are pre-soldered, sealed watertight, with an ample cable length of 2 meters |
| Current Limitation |
The maximum electrical push-button load rating is 0.05 A or 0.2 W |
CRITICAL INSTALLATION & WIRING GUIDE
The installation of this switch assembly requires the technician to strictly adhere to the manufacturer's safety and wiring instructions:
-
Electronic Control Required: Under no circumstances may the appliances be switched directly using the push-buttons. The intended use of the push-buttons is exclusively in combination with electronical push-button controls (e.g., mo.unit, mo.relay+).
-
Menu Button Function: It is possible to use the push-buttons directly as menu buttons for motogadget instruments.
-
Handlebar Drilling: Drill one 5mm cable hole on each side of the handlebar, and a 6mm hole on the bottom of the handlebar center for both cables to exit. Make absolutely sure to remove all burrs on the insides and outsides of the holes, as burrs can damage cable insulation and cause short circuits, leading to irreparable damage.
-
Mechanical Mounting: During installation, make sure the clamping gap is oriented to the bottom of the handlebar. The maximum mounting torque of both clamping screws is 2 Nm.
-
Warranty Warning: The casing must not be modified or opened. In case of mechanical modification, all warranty claims will become void.
-
Wiring Scheme (with mo.unit): Two of the three push-buttons are internally connected. For use with the mo.unit, connect the black cable and red cable to the ground terminals, and connect the white, yellow, and green cables to the desired input terminals on the mo.unit.
#Monkey89 #Motogadget #moswitchmini #HandlebarSwitch #ContrastCut #CustomMotorcycle #MotorcycleTuning #AuthenticParts