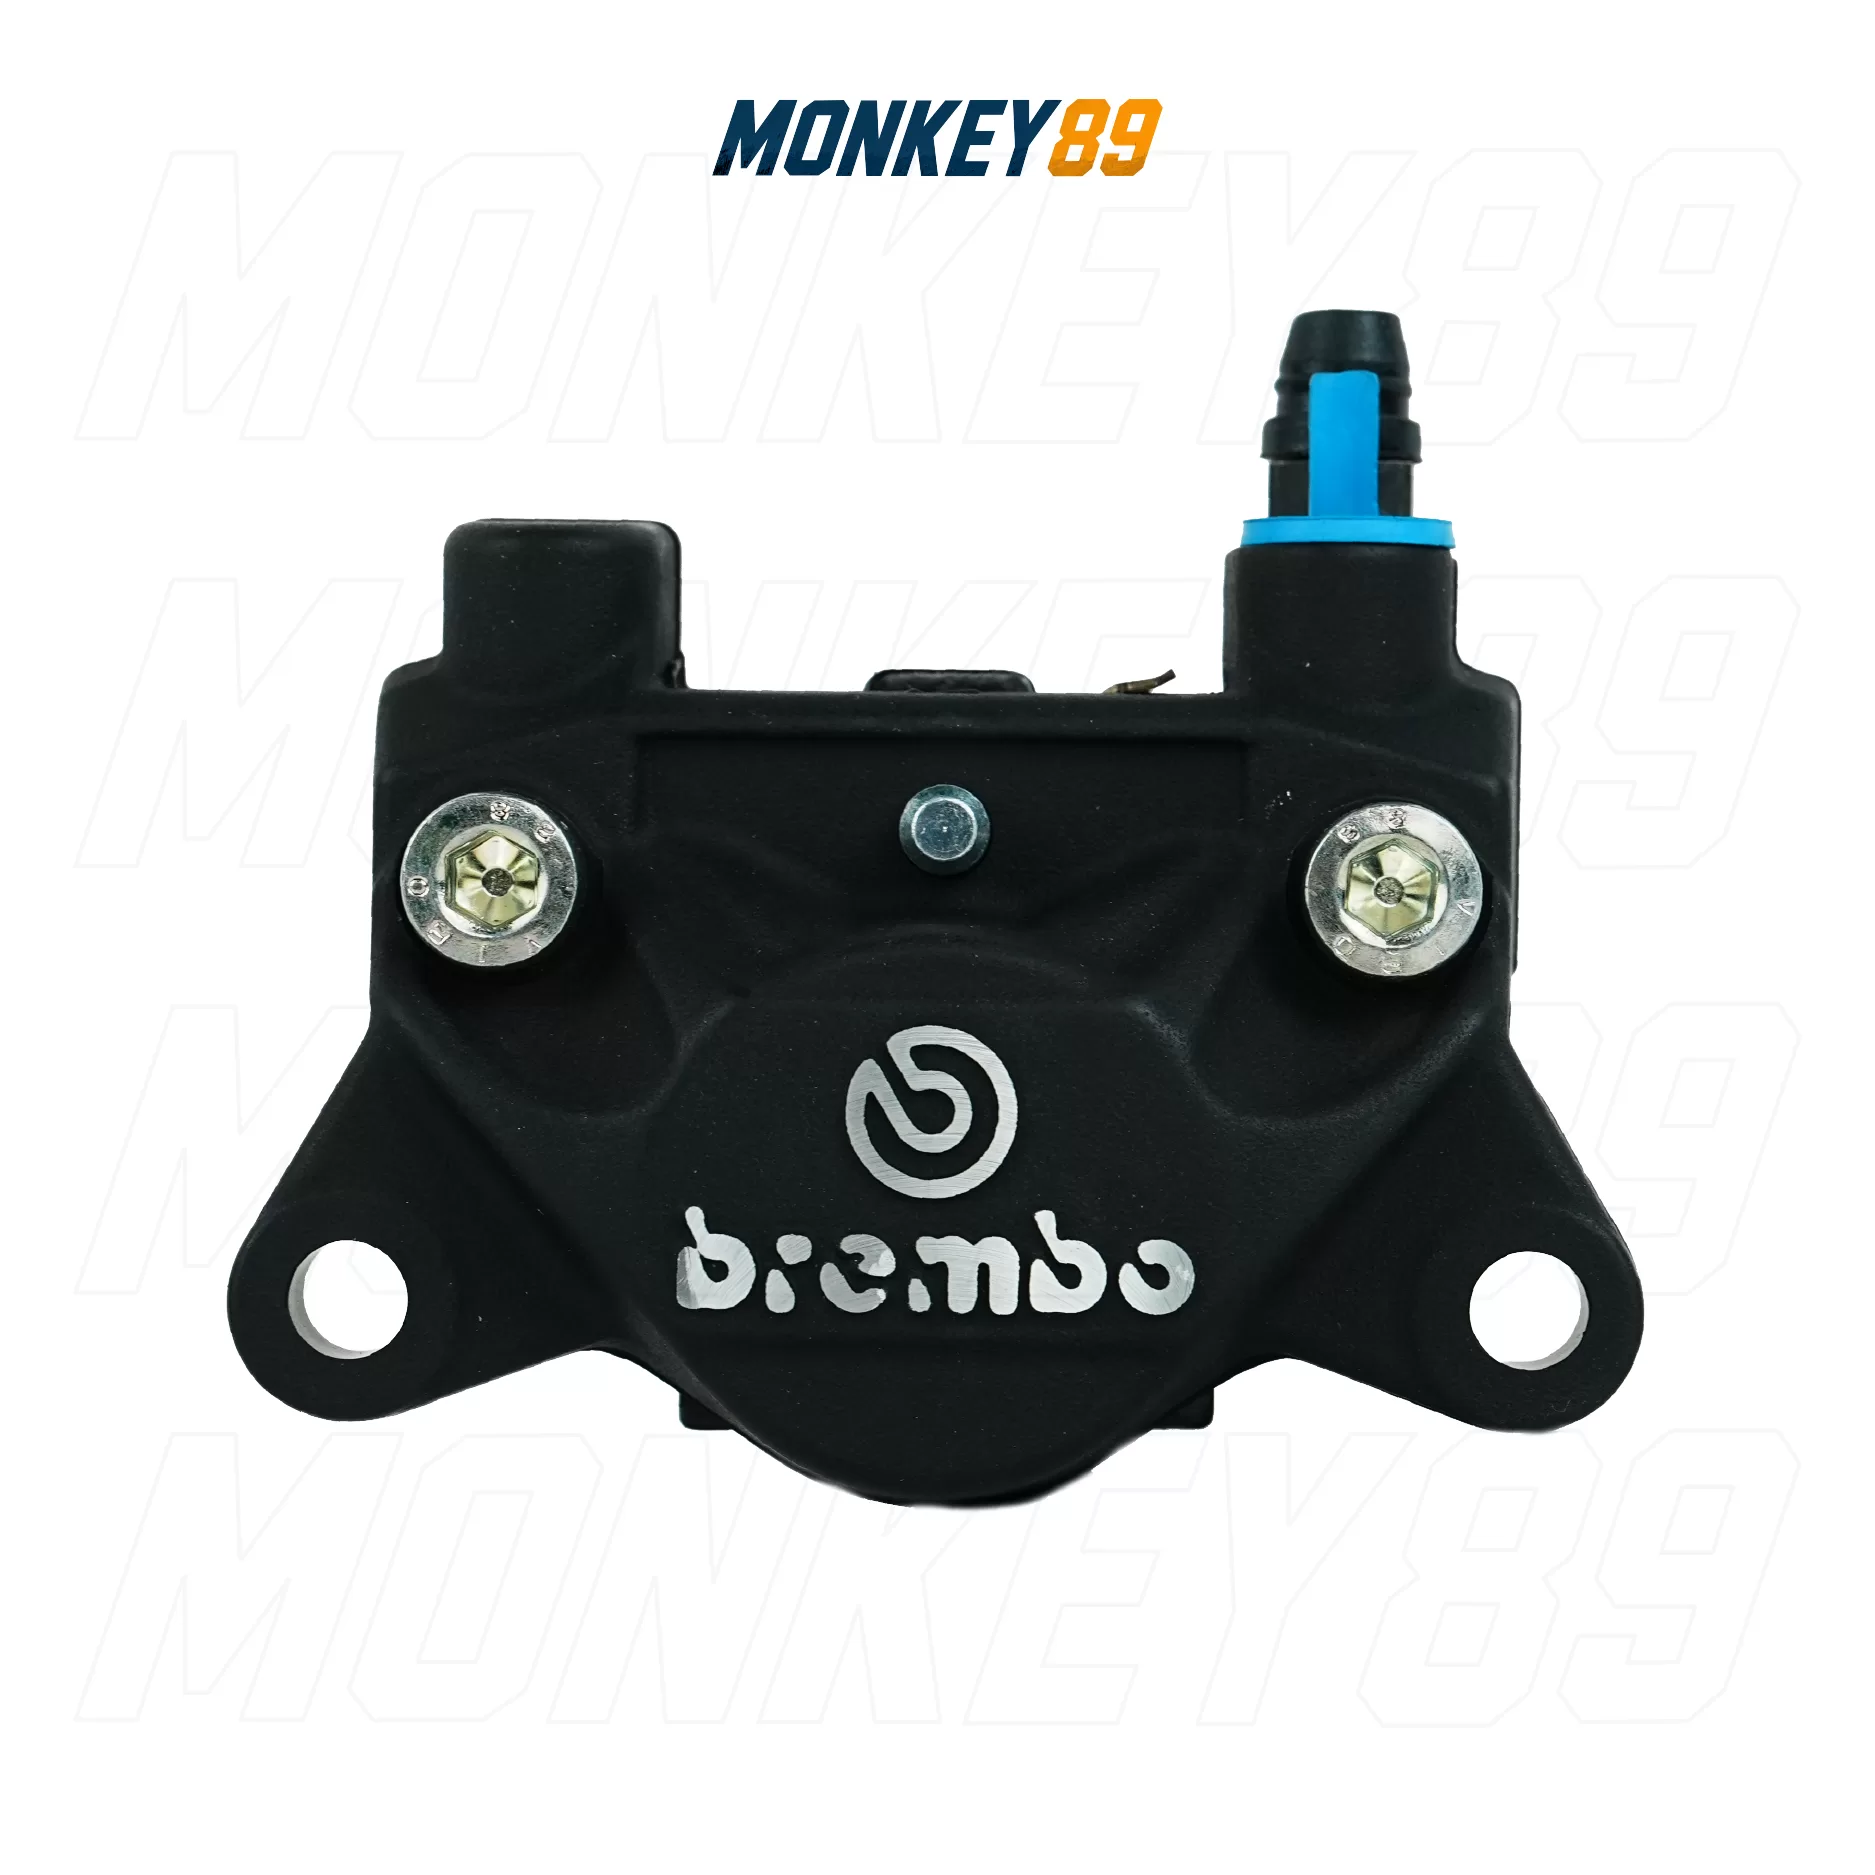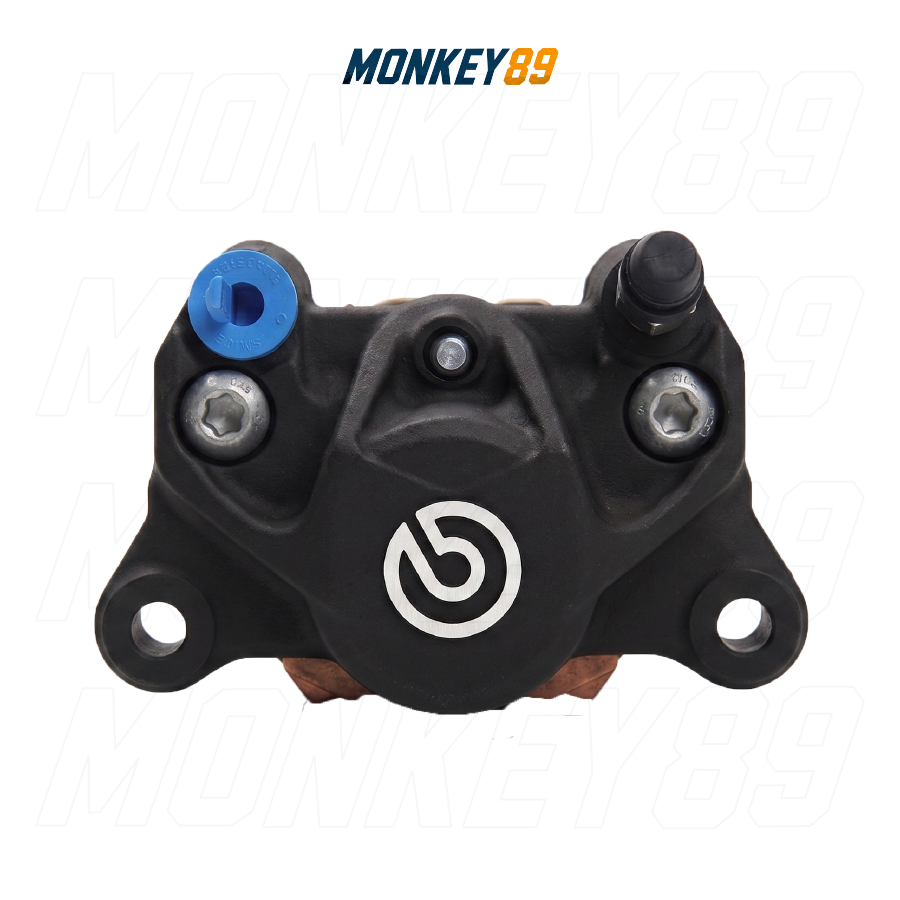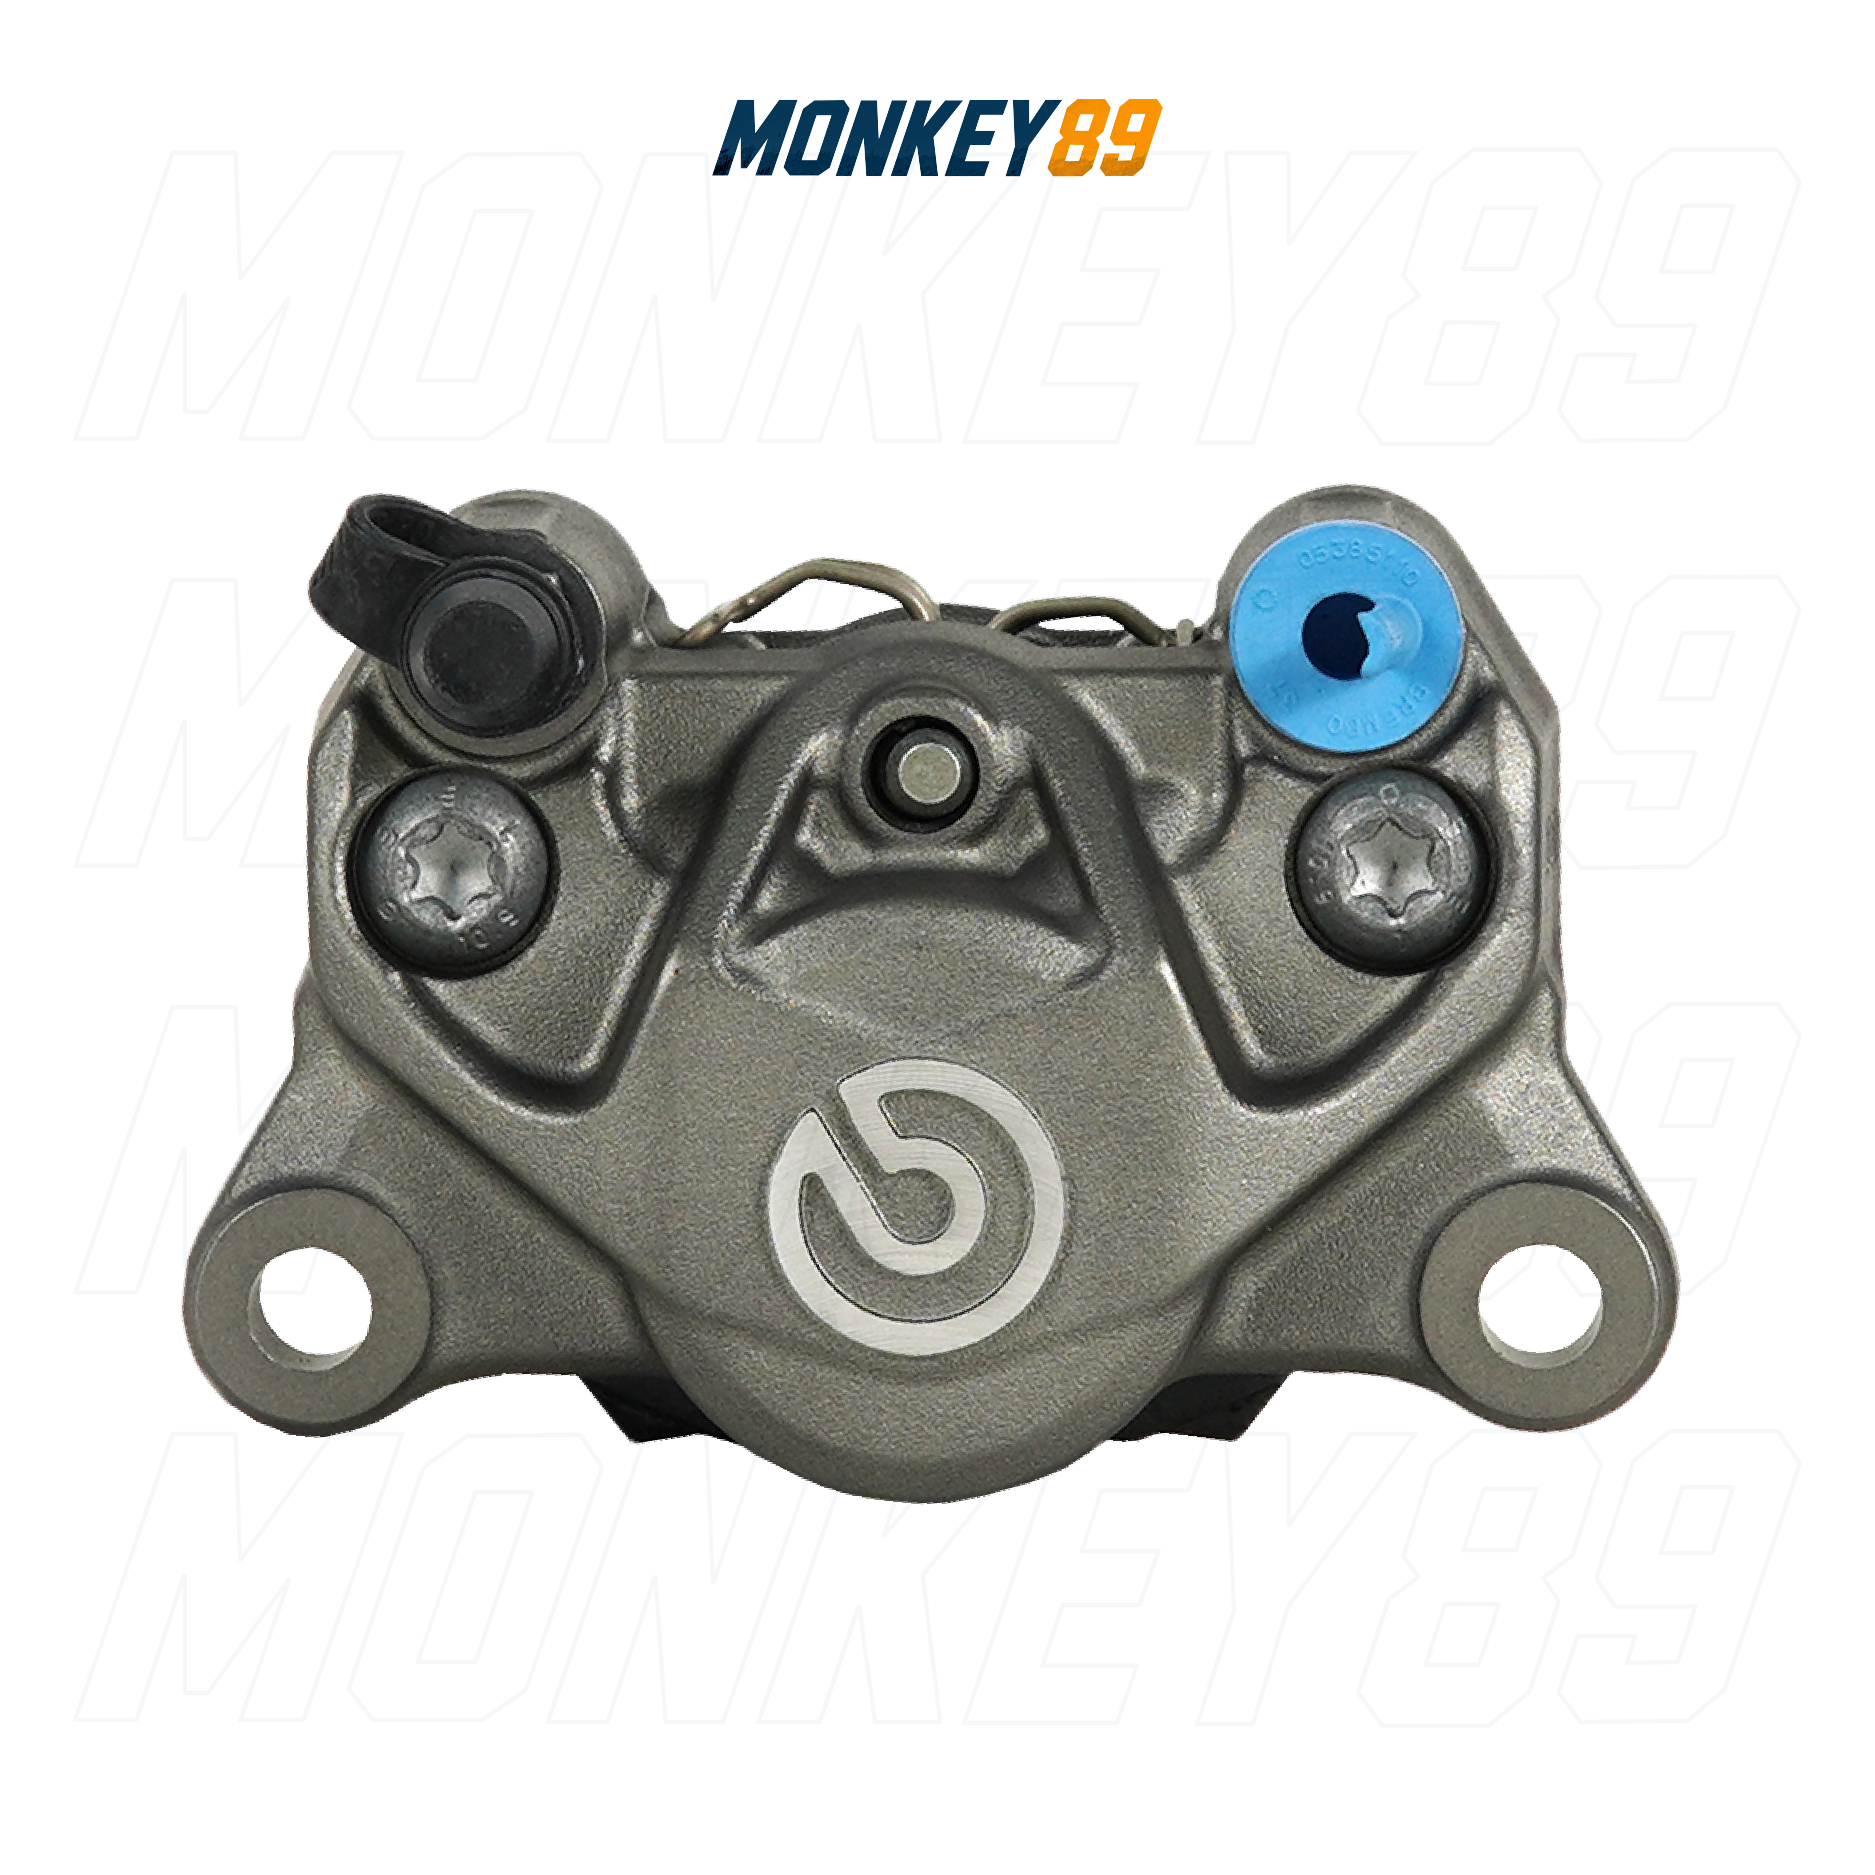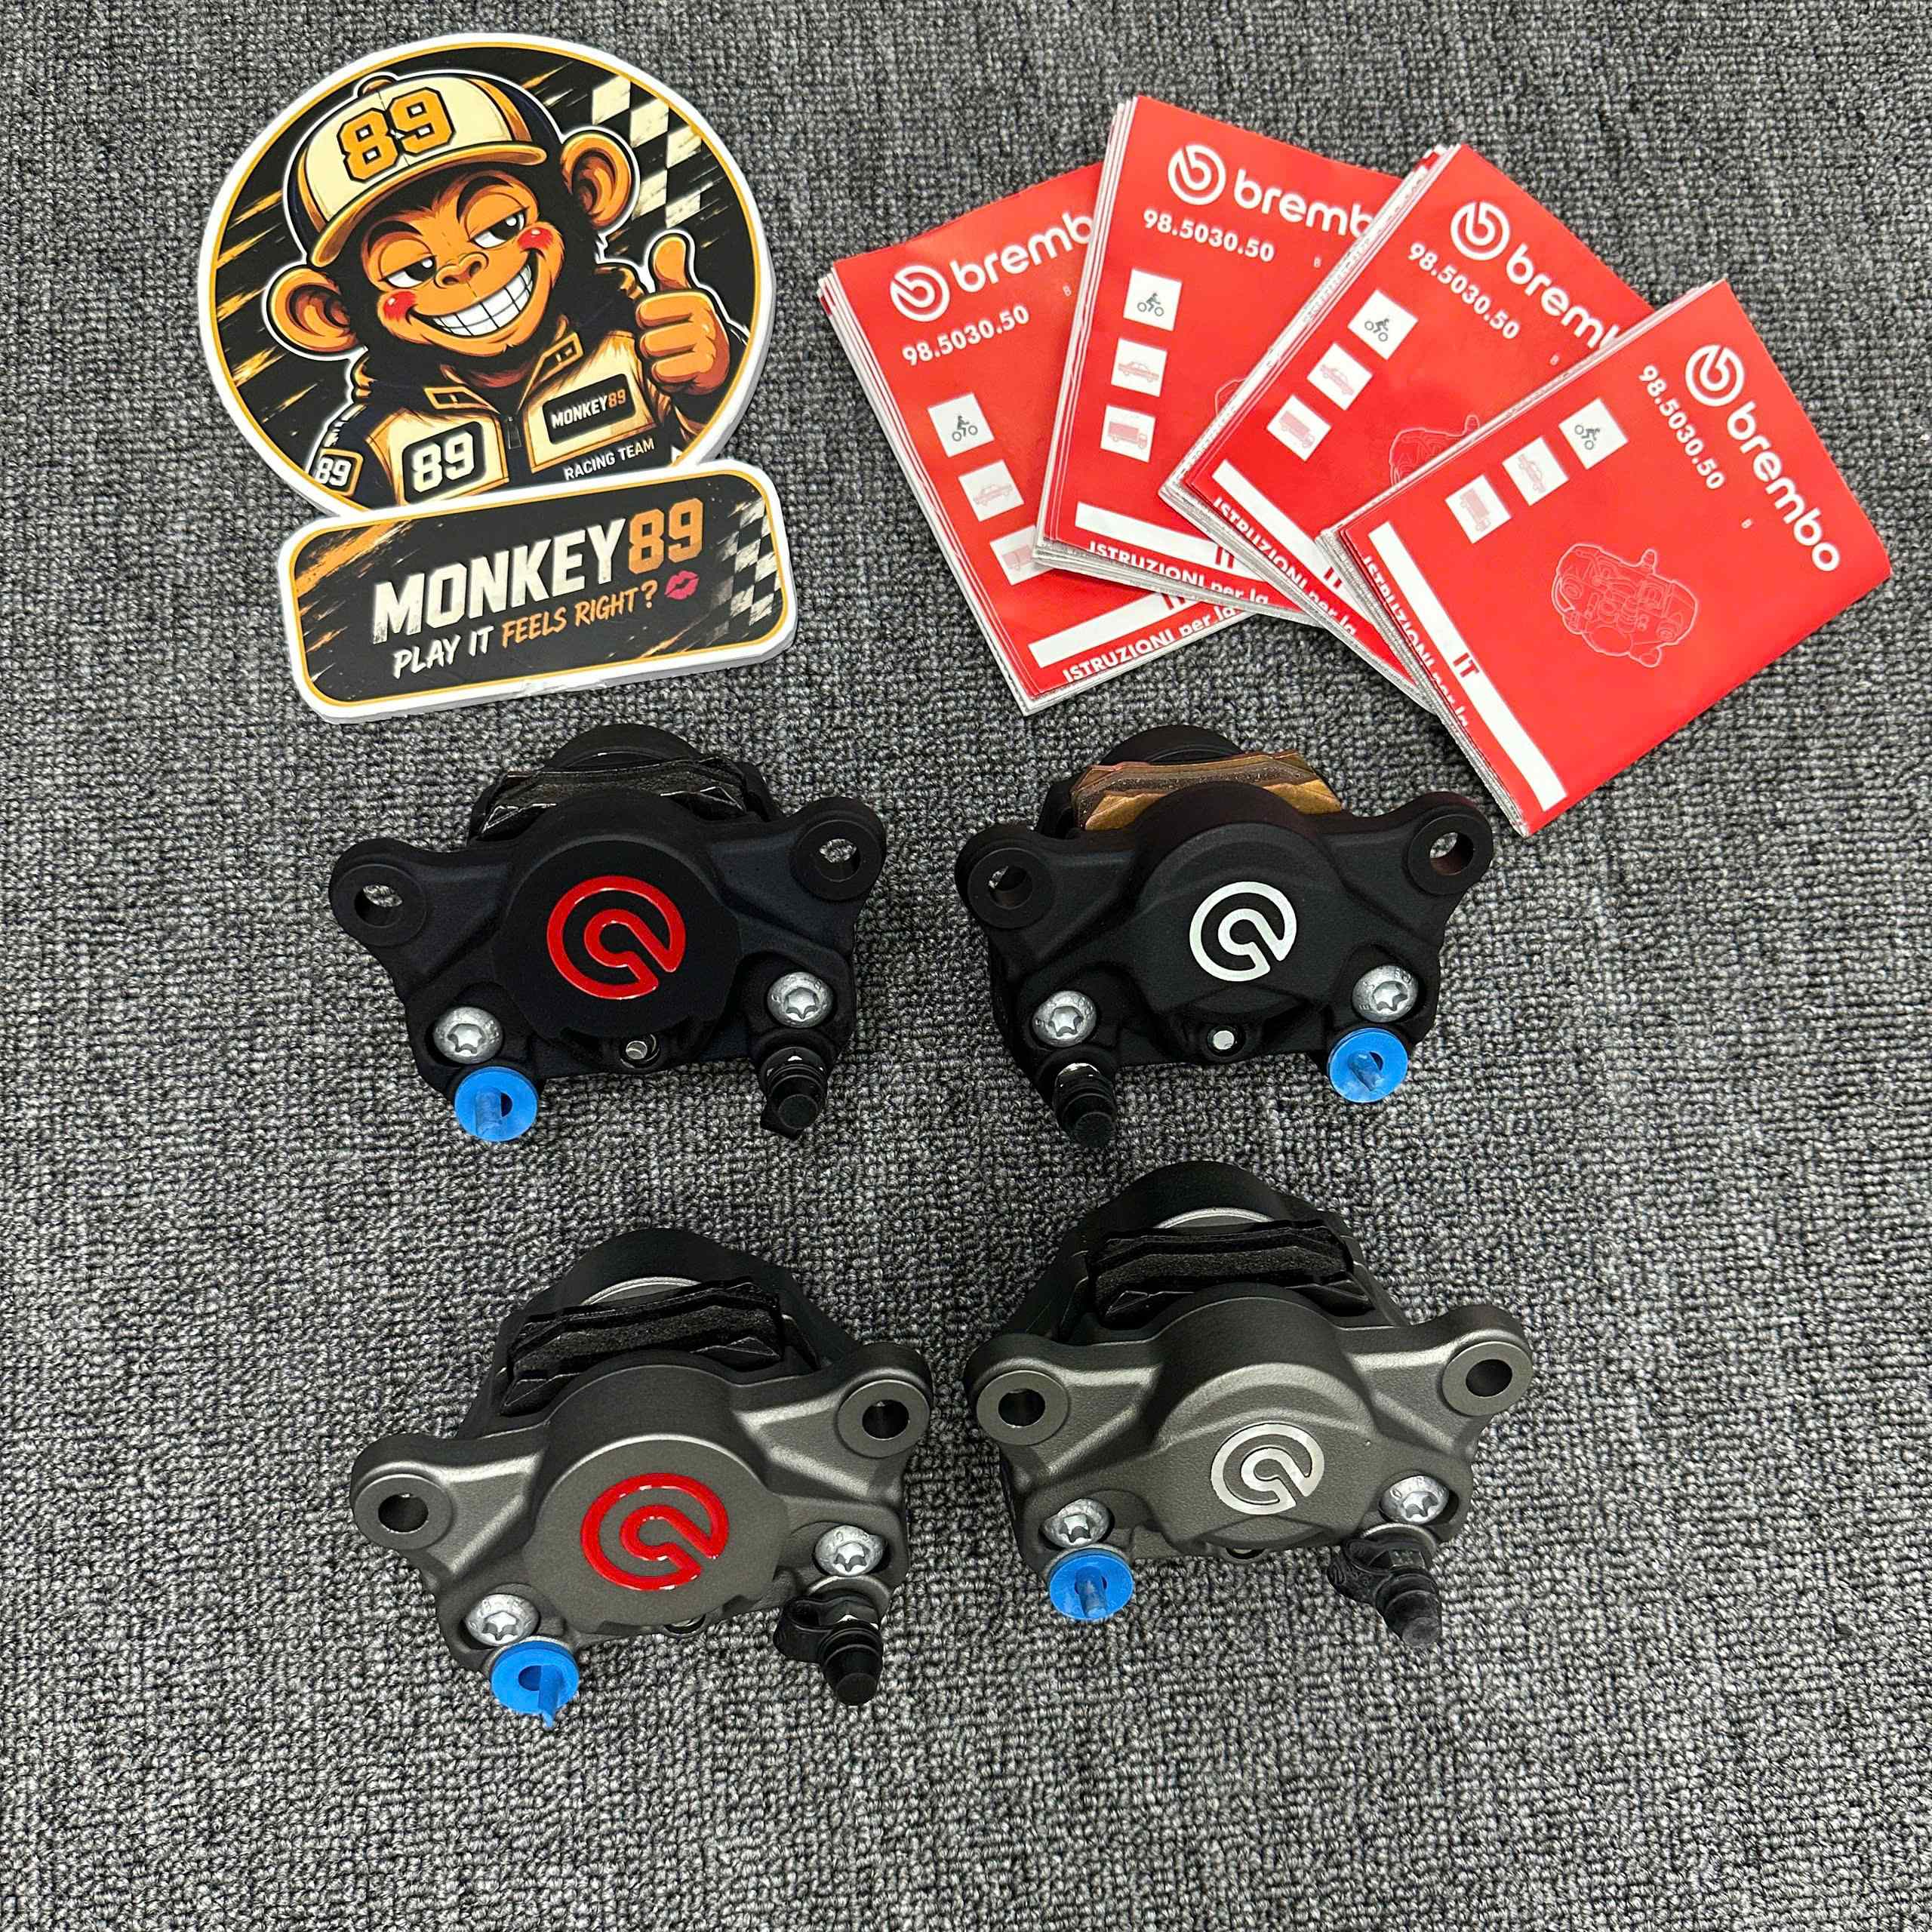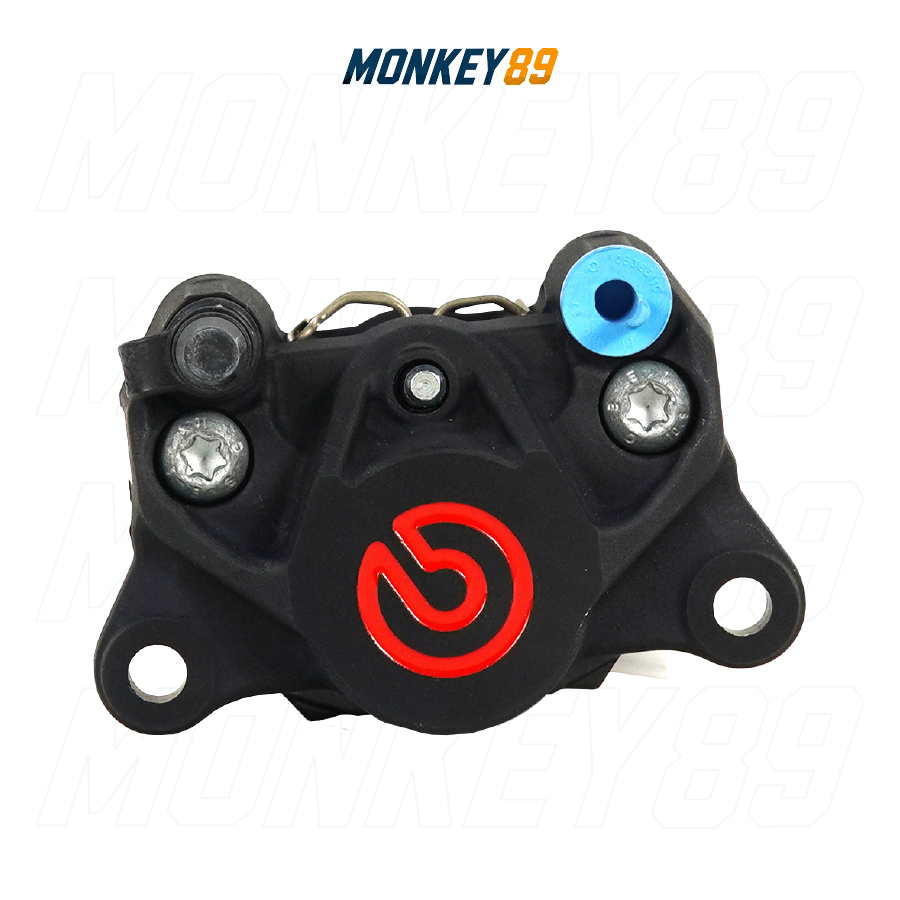
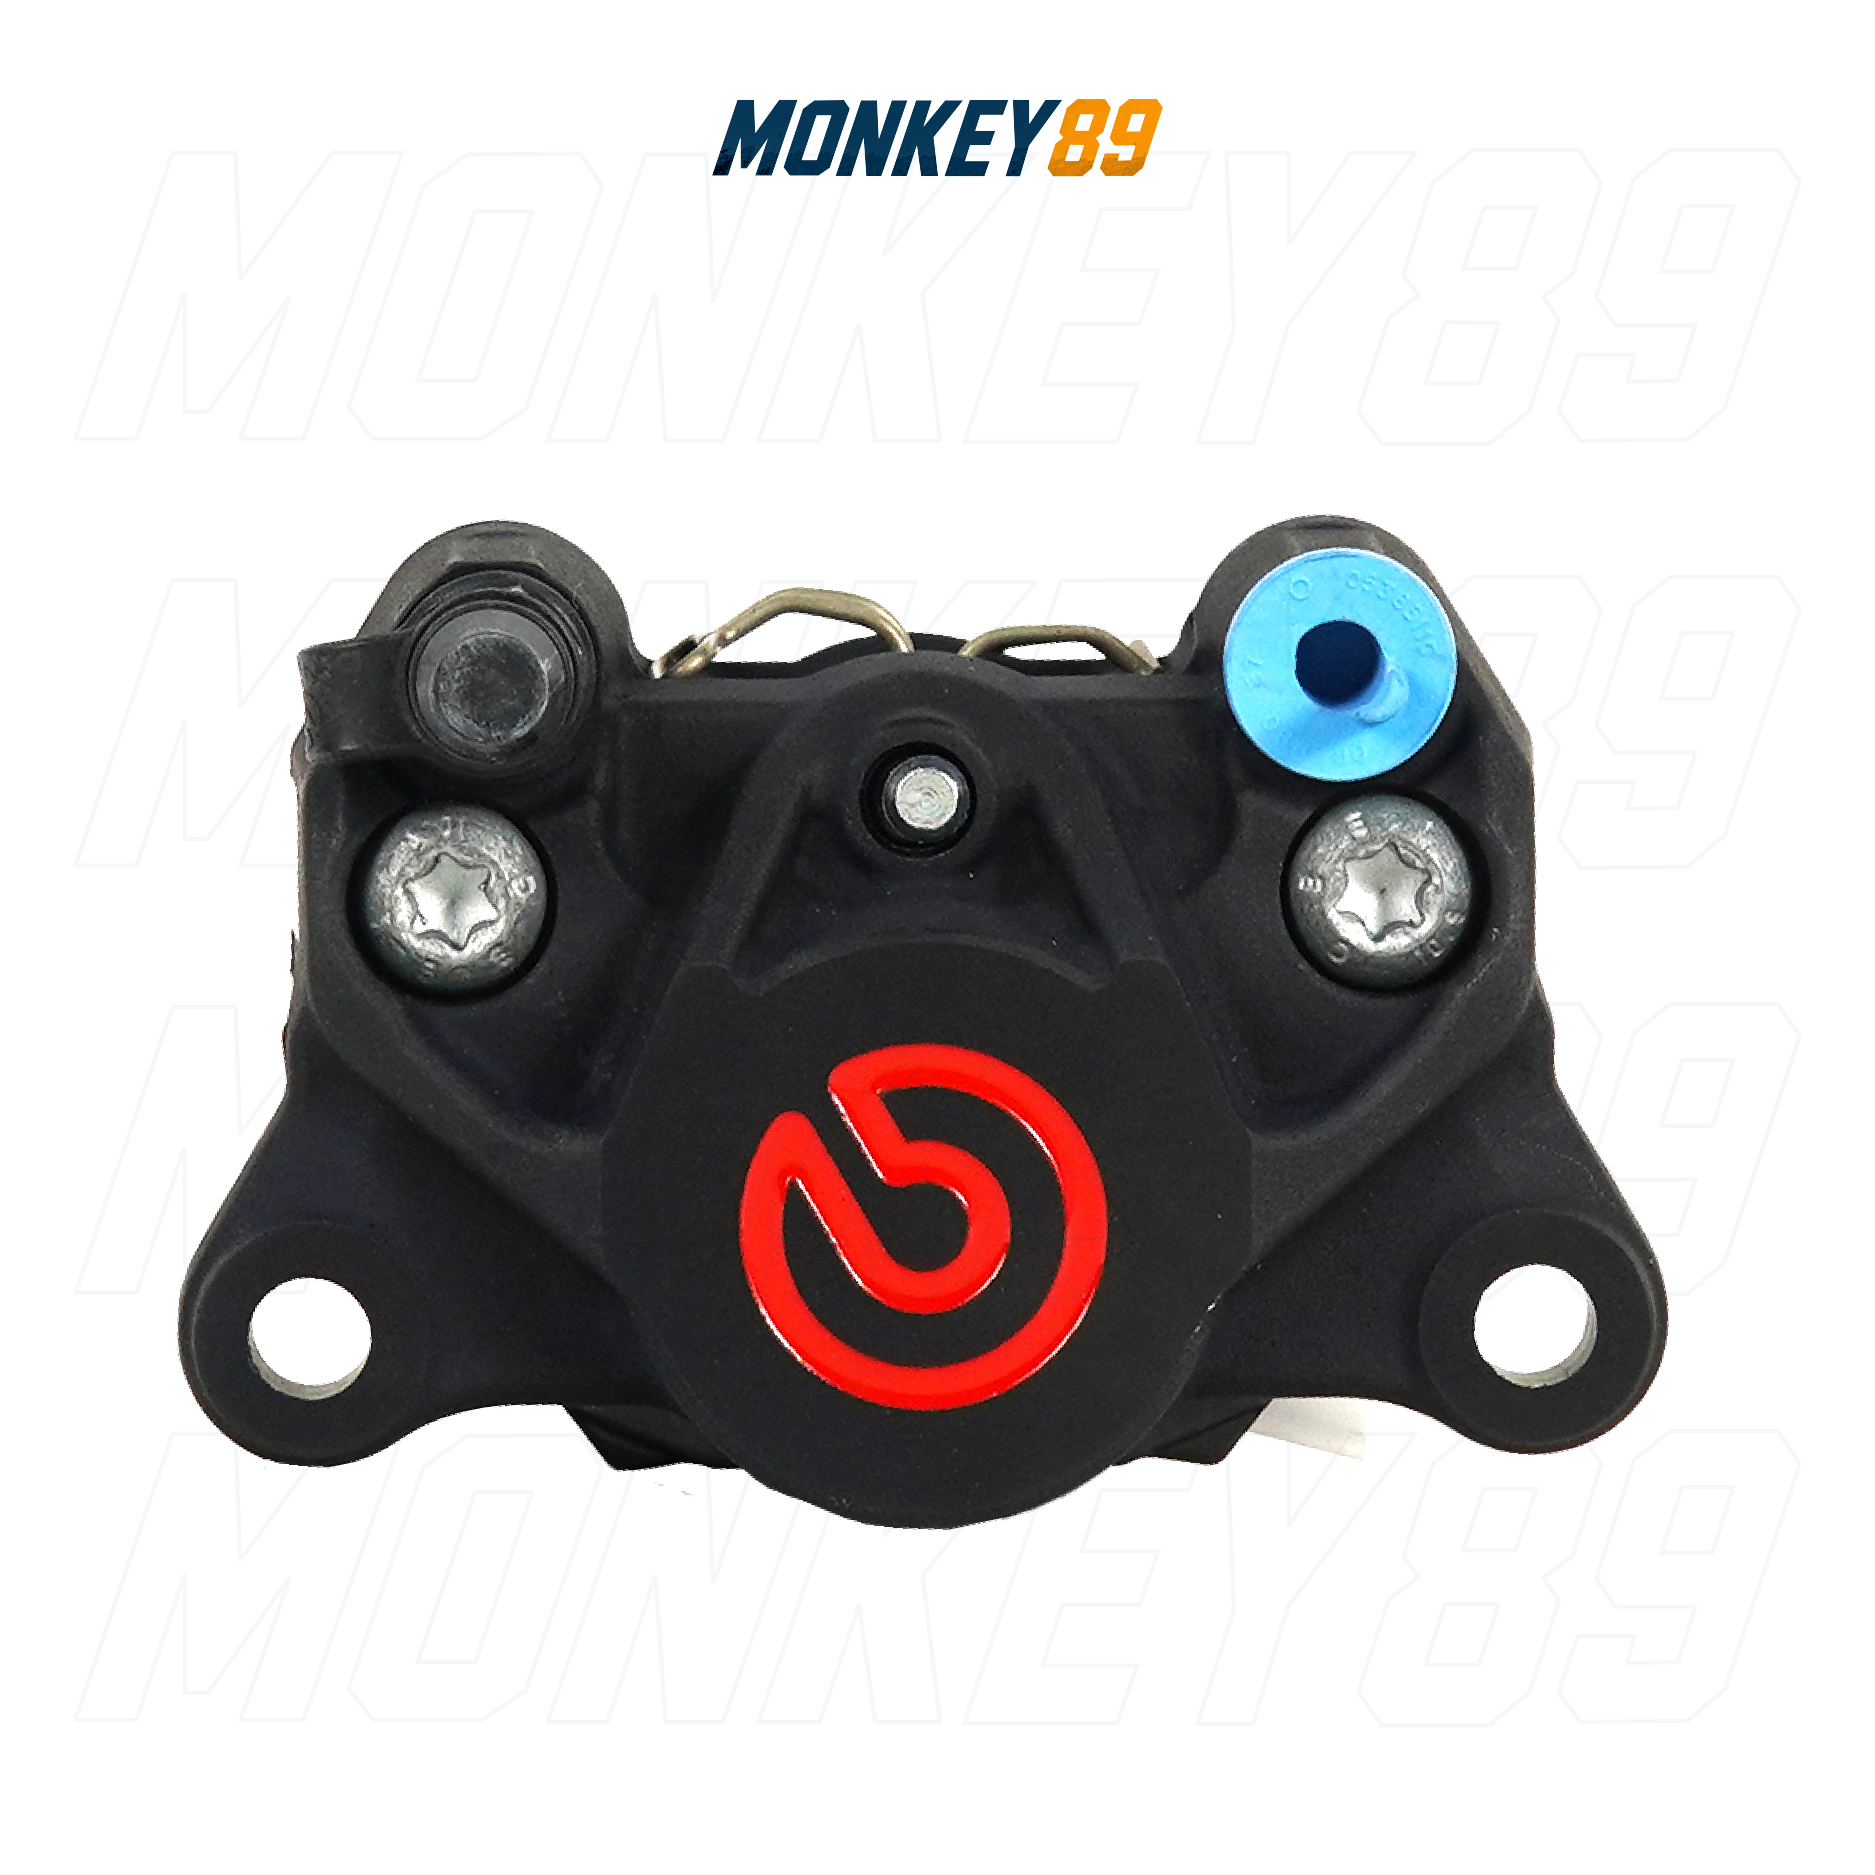
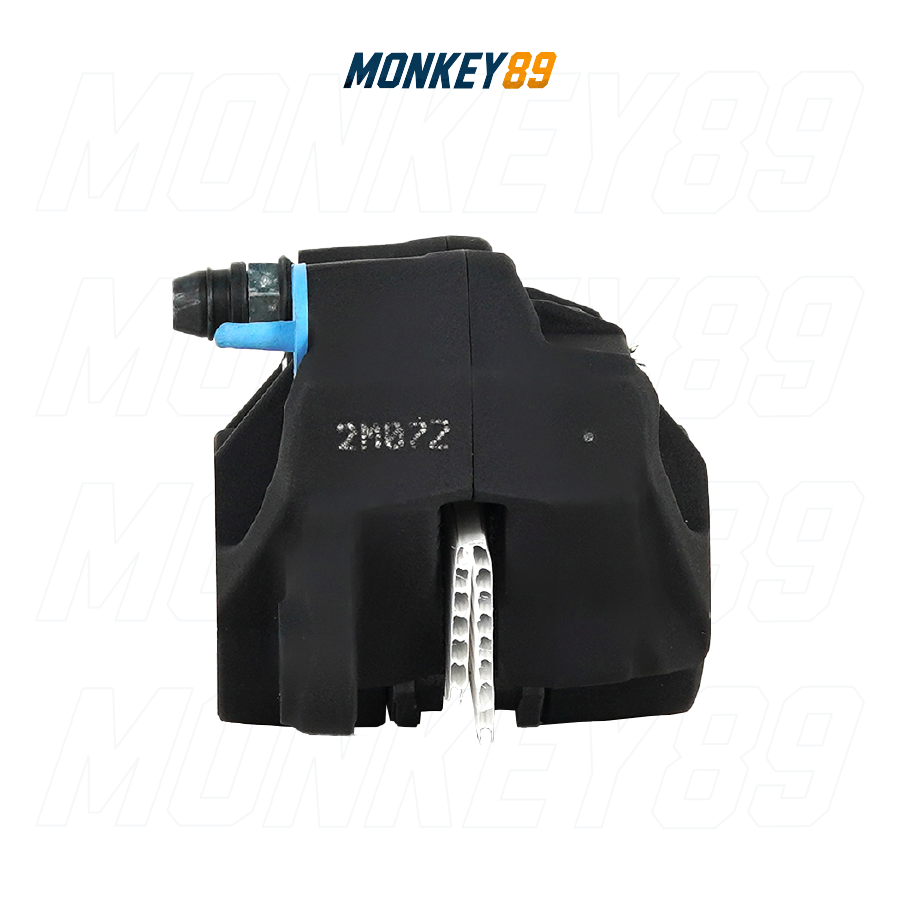
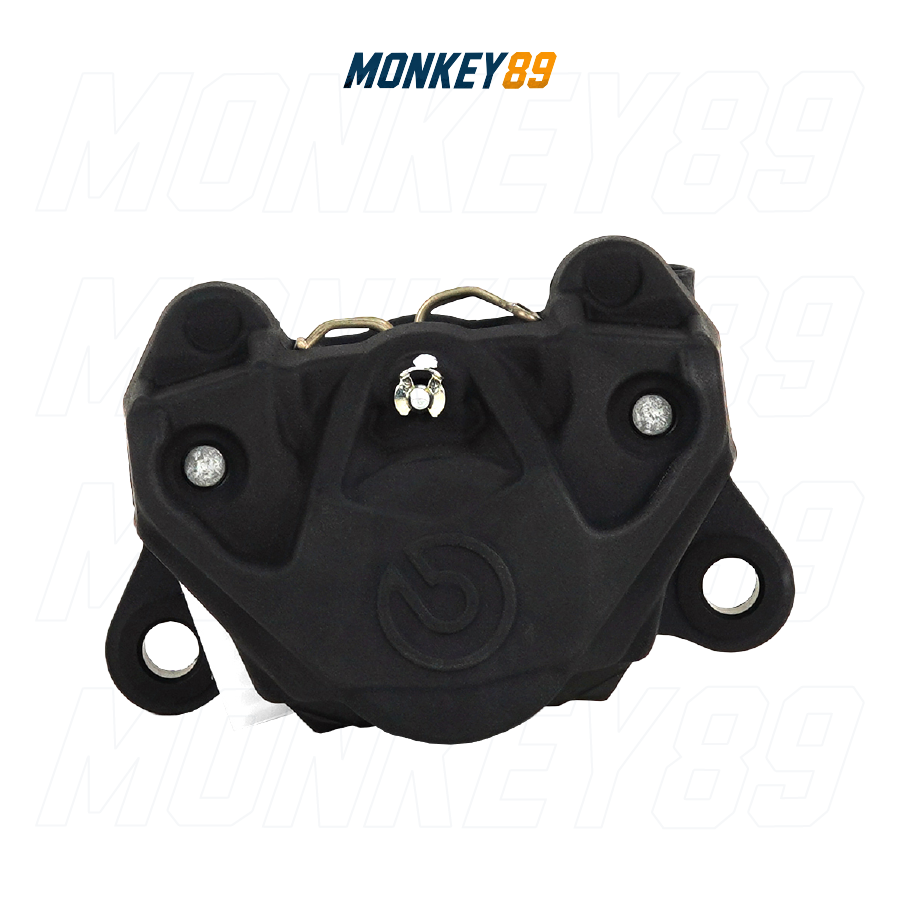
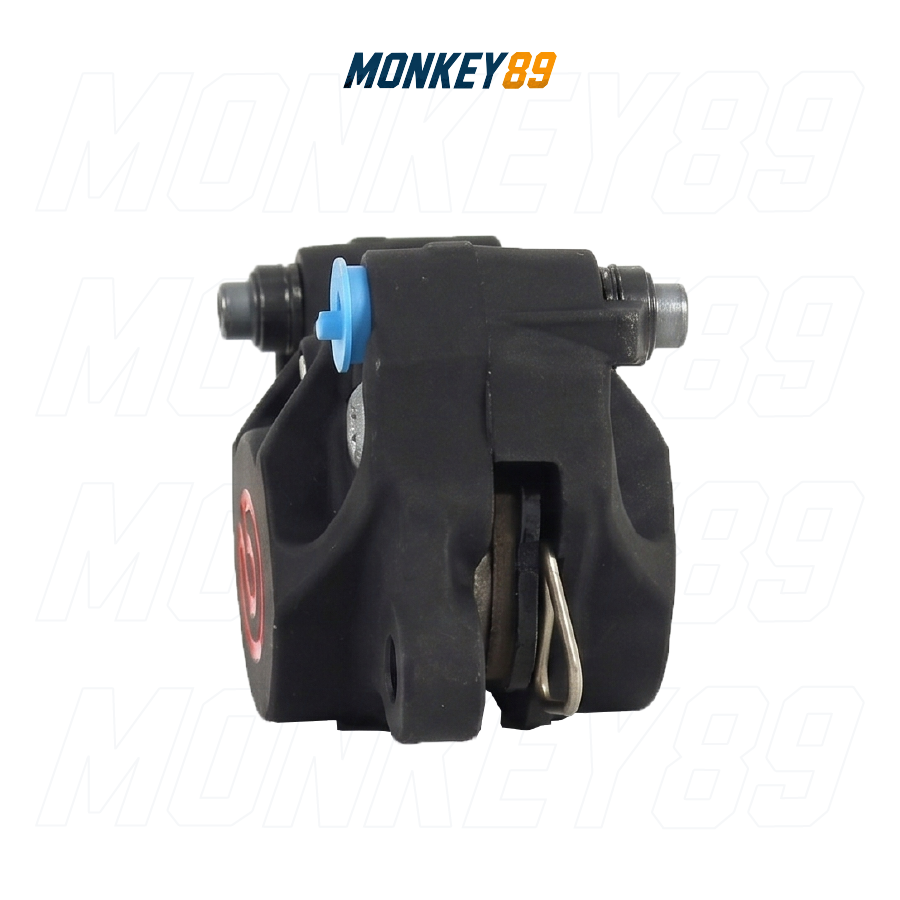
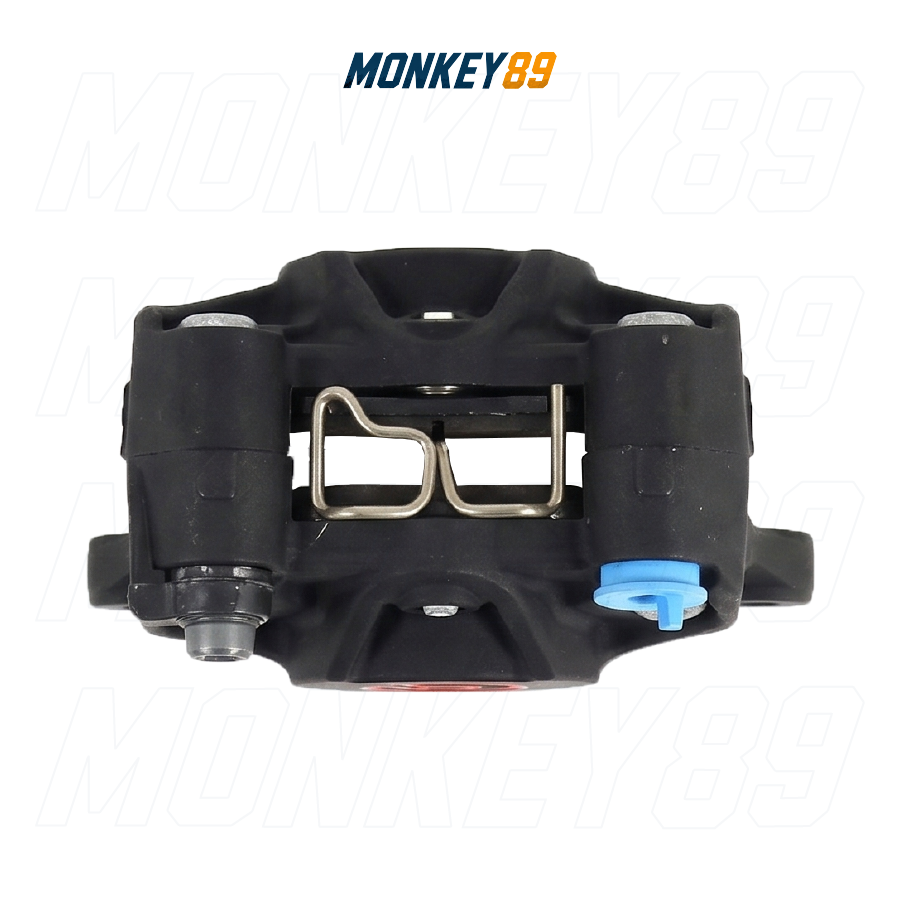





Brembo Rear Brake Caliper P2 34, Ø 34mm piston, mounting distance 84 mm, color Black, Red Coated Brembo Logo, pads included
Hey Boss! Have you ever dropped serious cash upgrading your front end with radial master cylinders and premium T-Drive rotors, only to look down at your rear brake and feel totally underwhelmed? After a few years, stock rear calipers on many sportbikes get rusty, the finish fades, and hitting the rear brake pedal feels like stepping on a wet sponge. The front bites hard, but the rear feels like it's barely there. At Monkey89, we see this all the time—a beautiful bike let down by a neglected rear setup. And if you're a rider chasing that tough, stealthy look with a touch of racing flair, finding the perfect black caliper with a red accent is a top priority.
The ultimate solution to balance your ride is the Brembo P2.34 (20B85257). This 2-piece Prime Line caliper features twin Ø34mm pistons inside a cast aluminum body, finished in a heavy-duty Black Anodized coating and highlighted by a fierce, sporty Red Brembo Logo. It’s ultra-lightweight at just 600g, uses an industry-standard 84mm axial mounting pitch, and the best part: it comes with premium 07BB20 sintered pads pre-installed. Unbox it, mount it, and ride. Its compact profile makes it an incredibly versatile upgrade for both front and rear configurations across countless sportbikes and premium scooters!
⚙️ TECHNICAL SPECIFICATIONS
📦 Inside the authentic Brembo box, you will find:
-
1x Brembo P2.34 Caliper (20B85257) - Black with Red Logo
-
1x Set of Sintered Pads 07BB20 (Pre-installed by the factory)
-
Mounting bolts kit
-
Genuine Brembo Installation Manual
🚀 OUTSTANDING TECHNOLOGY & PERFORMANCE
1. Black Anodized Finish with Racing Red Logo: Unlike standard powder coating, the black anodized treatment creates an ultra-hard protective oxide layer directly on the aluminum's surface. It's incredibly resistant to scratches, harsh chemicals, and will never peel or flake off. Set against this rugged black body is the vibrant Red Brembo logo, injecting pure racing DNA into your motorcycle's aesthetic.
2. Twin Ø34mm Pistons – Buttery Smooth Modulation: Unlike standard single-piston calipers that push from one side, Brembo's twin Ø34mm aluminum pistons apply clamping force evenly across both sides of the brake rotor. The result? You feel the exact "depth" of your braking. A soft touch yields gentle deceleration, while a firm press delivers aggressive bite. No more stiff "on/off" feeling. Brembo calls this Optimal Braking Modulability.
3. Included 07BB20 Sintered Pads: Brembo generously equips this caliper with premium sintered pads right out of the box. Sintered compounds handle high heat significantly better than cheap organic pads, delivering consistent bite right from the first squeeze with practically zero bed-in time required.
💡 How does it feel on the road? Say goodbye to spongy or delayed rear braking. The feedback to your foot (or hand) becomes incredibly linear and predictable. This is a game-changer when you need to trail-brake smoothly into a corner or maneuver through slow, heavy traffic. Plus, at just 600g, it keeps your unsprung mass to an absolute minimum for better suspension response.
🛠️ PRO INSTALLATION & BLEEDING GUIDE
- Step 1 – Drain the Old Fluid: Secure your bike on a stand. Open the master cylinder reservoir cap and remove the rubber diaphragm. Connect a clear hose to the old caliper's bleeder valve, route it into a catch bottle, and drain the old fluid completely.
- Step 2 – Remove the Stock Caliper: Disconnect the banjo bolt (fluid line). Remove the retaining pins and pads. Unbolt the caliper bracket and remove the stock unit from the swingarm/fork.
-
Step 3 – Mount the Brembo P2.34: Clean your brake rotor with a dedicated brake cleaner. Position the new Brembo caliper (use spacers if your setup requires them). Insert the mounting bolts but do not tighten fully yet.Reconnect the brake line, torqueing the banjo bolt to 17–20 Nm.
-
Step 4 – The Bleeding Process: Fill the reservoir with fresh DOT brake fluid. Open the bleeder valve → Squeeze and hold the brake lever/pedal → Close the bleeder valve → Slowly release the lever. Repeat this cycle until the lever feels rock-solid and the fluid flows out with zero air bubbles.
⚠️ CRITICAL WARNING: NEVER release the brake lever while the bleeder valve is open. This will suck air back into the hydraulic system and you will lose your brakes!
-
Step 5 – Final Torque: Torque the bleeder valve to 12–16 Nm. Torque the main caliper mounting bolts to your motorcycle manufacturer’s spec (usually around 46 Nm). Top off the fluid to the MAX line and seal the reservoir.
🚨 5 Pro-Tips to Avoid Costly Mistakes:
-
Brake fluid destroys paint instantly! Cover your fairings and wheels with damp towels.
-
Keep your greasy fingers away from the new brake pads and the rotor's friction surface.
-
Do not use harsh chemicals or abrasive sandpaper on the caliper body to protect the sleek black anodized finish.
-
Ensure your brake lines are routed smoothly without sharp kinks or excessive twisting. Upgrading to steel-braided lines (like Earl's or HEL) is highly recommended.
-
Do not reuse your old caliper on another bike; the old rubber seals are prone to leaking once removed.
🏍️ FULL COMPATIBILITY LIST
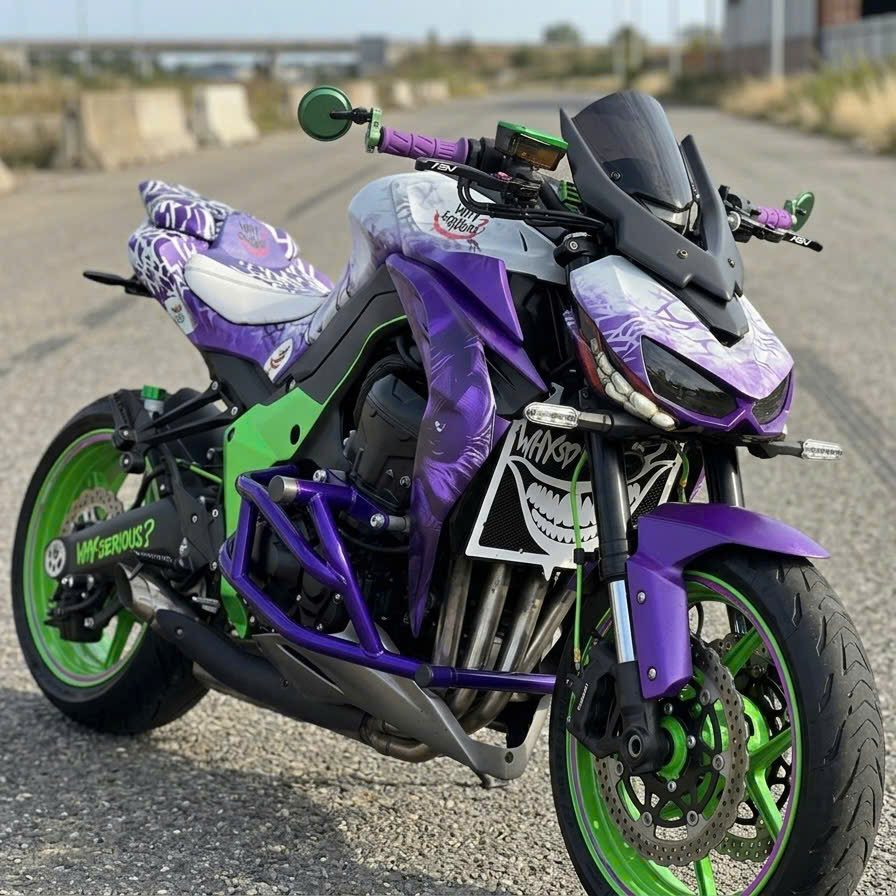
This caliper uses the industry-standard 84mm mounting pitch. Below is the reference list provided by Brembo Italy.
(Note: Can be used as front or rear depending on the bike's bracket design).
APRILIA
DUCATI
HONDA
KAWASAKI & KTM
YAMAHA, SUZUKI & MV AGUSTA
OTHER BRANDS (BMW, Vespa, Piaggio...)
Not sure if this caliper fits your specific setup? Just use the Compatibility Search Tool on the Monkey89 website! Enter your bike's make, model, and year for match.